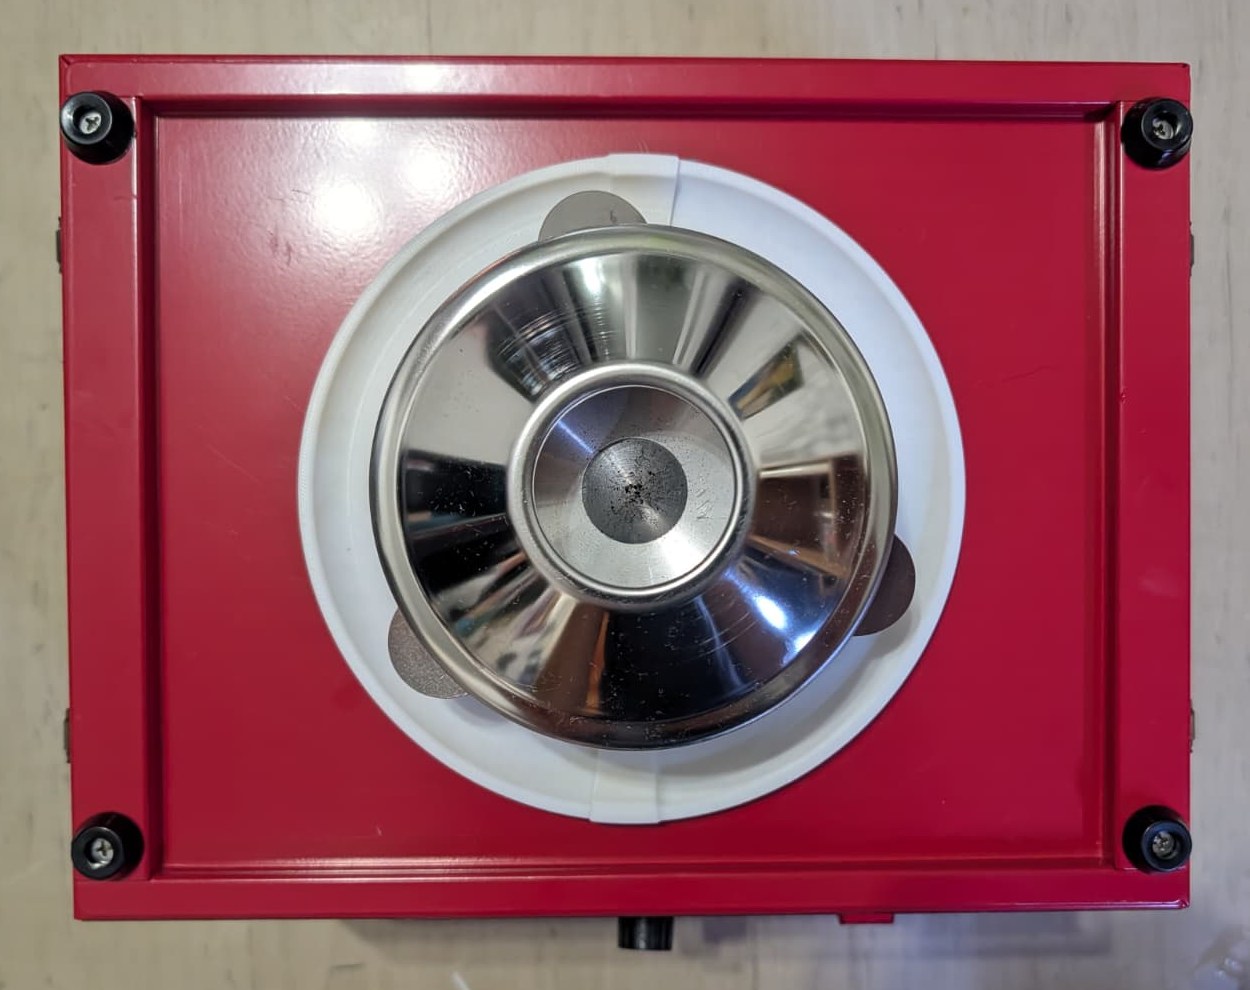
One of the best birthday presents I have ever received was a cotton candy machine, more precisely the VEVOR cotton candy machine with 1000 W. It makes excellent cotton candy and has since been part of many events, for example at the AG EH MED e. V. or at parties and festivals.
Cotton candy goes down well everywhere. For associations it is also a nice way to hand something out without much cost: 400 sticks and the matching sugar together cost less than 25 €.
The Problem: Tidying Up and Cleaning
After the machine had been in use for a while, one thing increasingly bothered me: tidying up and cleaning afterwards.
Most parts are actually very easy to clean. If, after use and with the machine still running, you slowly pour about 2 l of water into the spinner head, i.e. where the sugar normally goes, it is clean again quickly. Caution: this creates quite a lot of steam. So wear long sleeves, gloves if necessary, and add the water slowly over one to two minutes. The stainless steel bowl and the transparent cover can be removed and simply rinsed under running water.
Unfortunately, there is a gap between the spinner head and the housing of the machine, open from above, into which sugar can fall. In principle VEVOR thought of this and included a protective plate that covers this area. However, the plate is screwed onto rivet nuts in the housing. That is why there is always a gap between the housing floor and the protective plate, where sugar and sugar water collect. To get the machine really clean, I had to unscrew the plate every time. That cannot be done without tools and takes time.
So my idea was to replace the protective plate with something that can simply be lifted off.
The Guard Ring
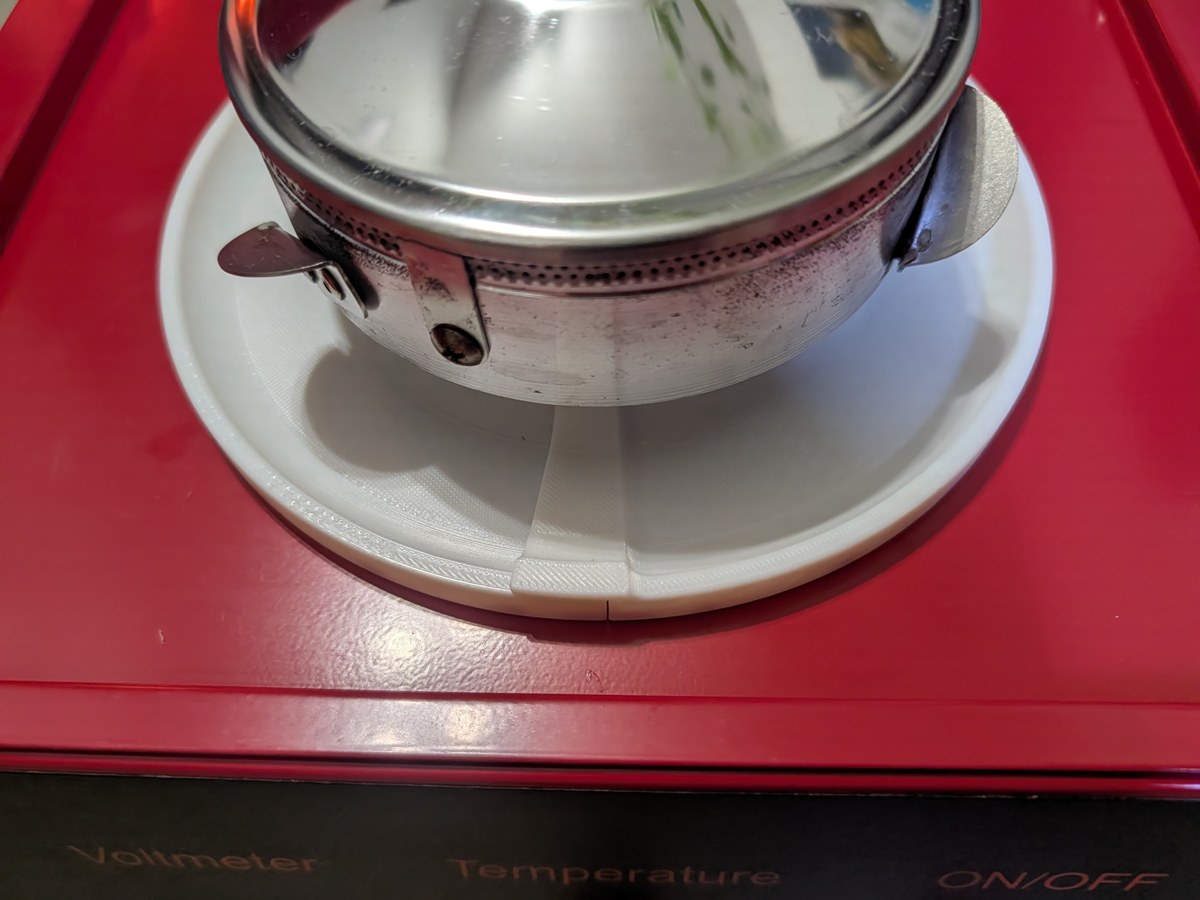
I designed the guard ring in Fusion 360. It consists of two identical halves that together form a flat ring with an outer diameter of 188 mm, an inner diameter of 100 mm and a height of 18 mm. The top is curved like a gutter, so that there are no edges where sugar can get stuck, and at the inner edge a small lip stands up and covers the gap to the spinner head.
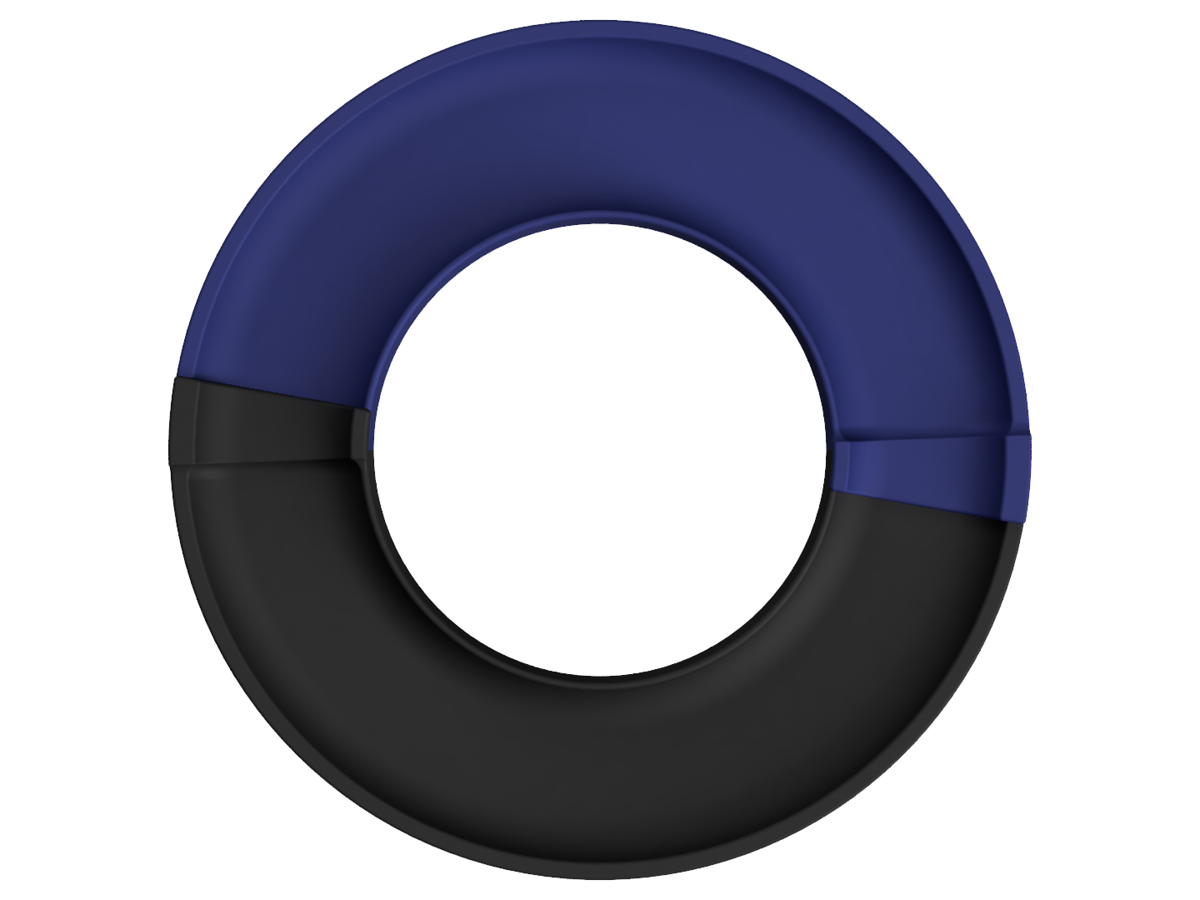
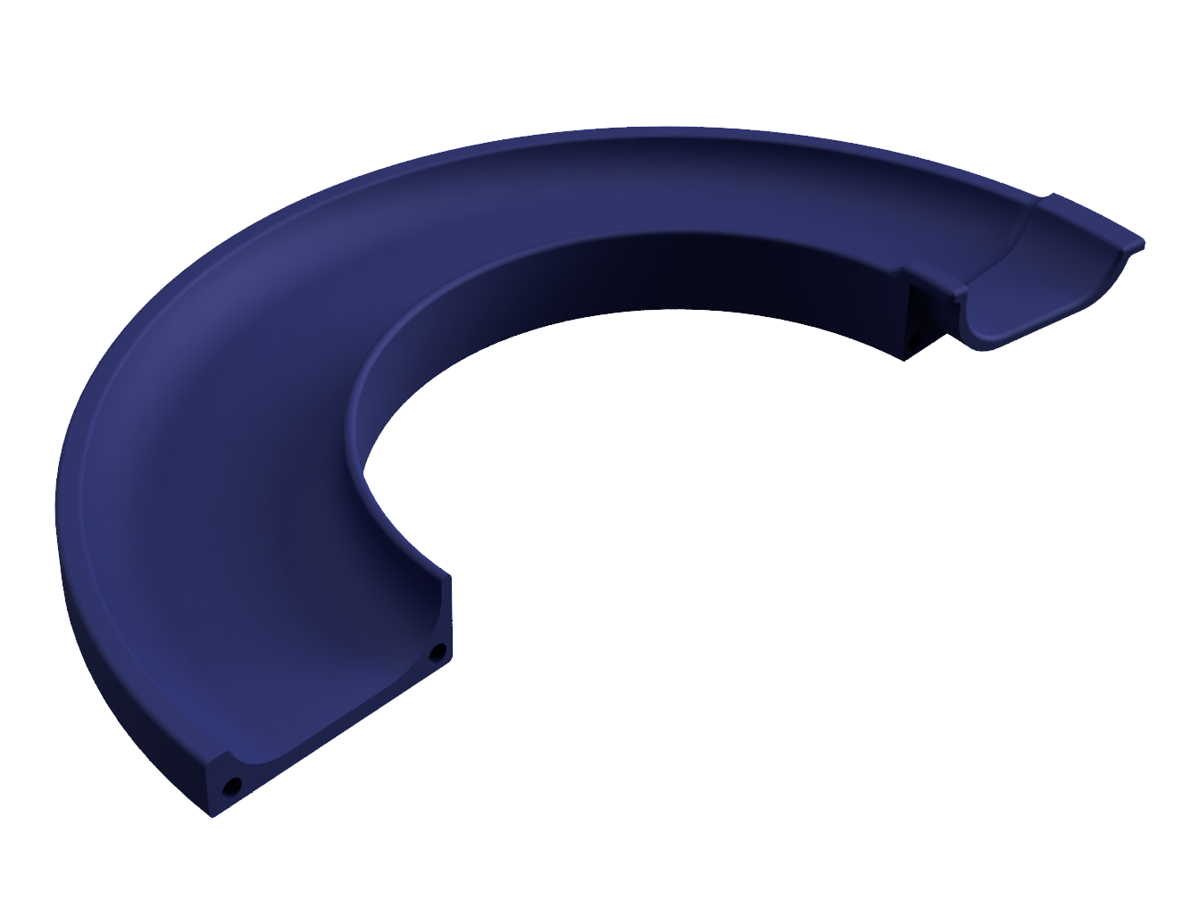
At the joints, the two halves overlap with a step. This means there is no continuous gap at the transitions either, through which sugar could fall down. Since both halves are identical, a single print file is enough.
Magnets instead of screws
For mounting, I chose magnets. Each half has 15 magnets with 2 mm diameter and 2 mm height glued in: 11 of them hold the half on the housing of the machine, 4 more sit in the end faces and hold the two halves together at the joints.
Material
I printed the guard ring from ASA. It is more heat resistant than PLA and is also dishwasher safe, so after use the ring can simply be washed together with the rest of the dishes. By the way, the ring does not come into contact with the cotton candy itself, it only lies on the housing below the spinner head.
Modification
Material
- 2 ring halves from the 3D printer
- 30 magnets, 2 mm × 2 mm
- Superglue
Removing the old protective plate
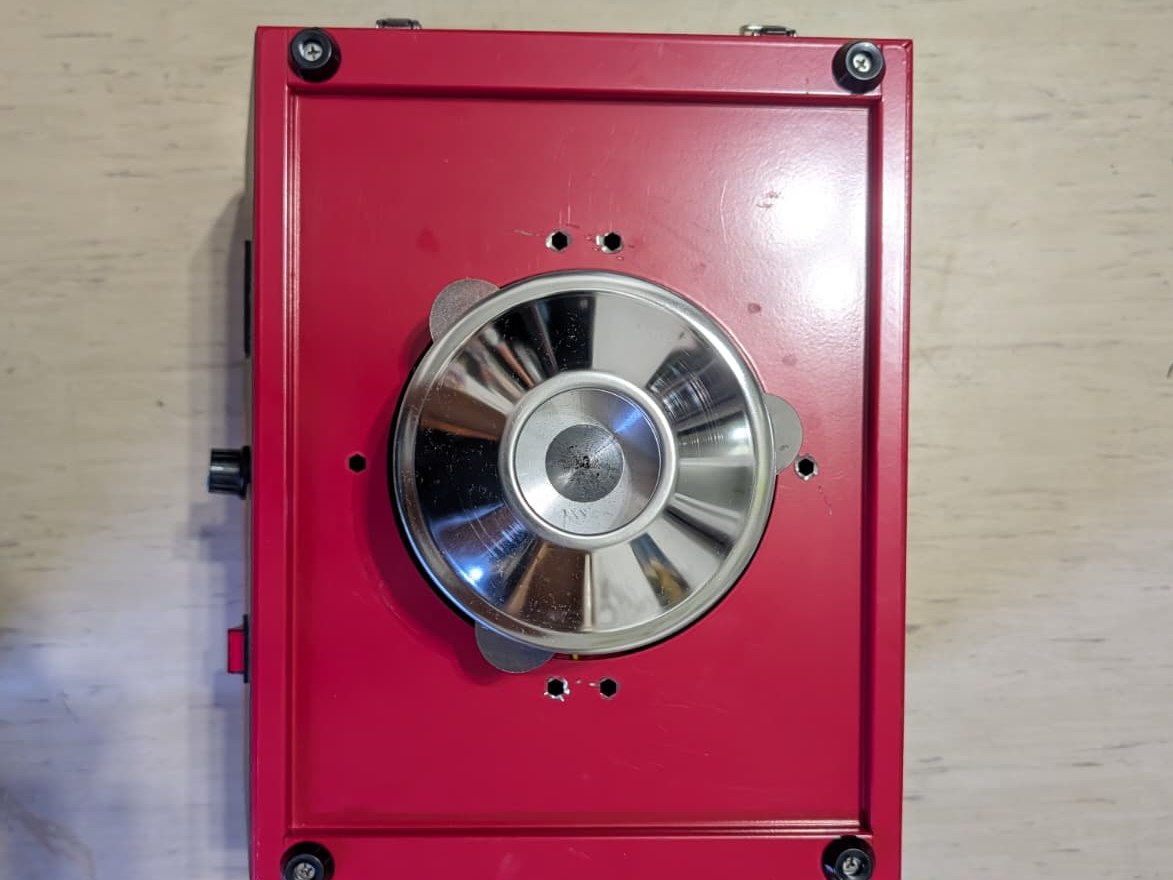
The original protective plate is attached with six screws. I simply unscrewed them and did not need the plate anymore afterwards.
Drilling out the rivet nuts
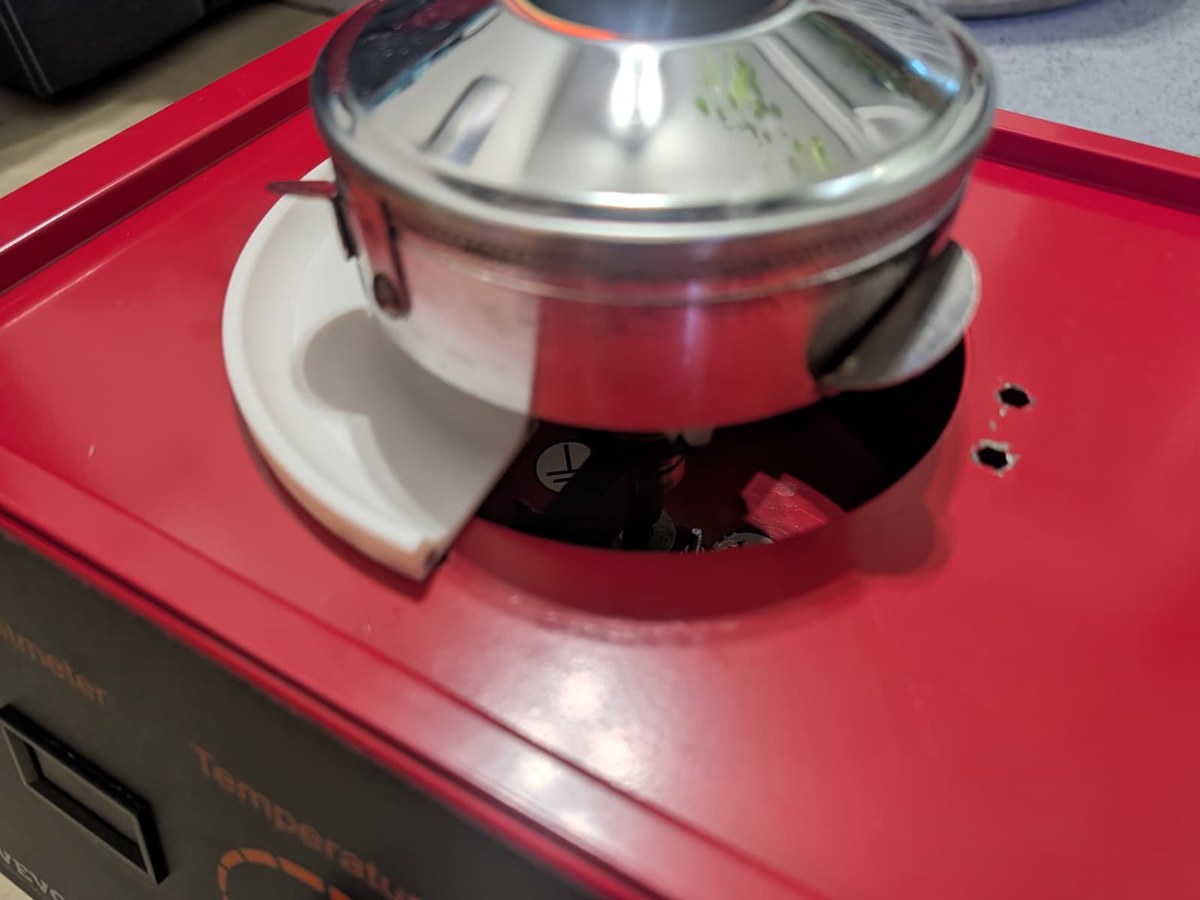
For the magnets to hold properly, the contact surface has to be flat. Unfortunately, the rivet nuts that the plate was screwed onto get in the way, because they protrude above the surface. To solve this, I simply drilled them out. The holes left behind are not a problem, because they are later completely covered by the new guard ring.
Gluing in the magnets
The magnets are glued into the recesses of both halves with superglue. It is important to test the polarity beforehand, especially for the magnets in the end faces, so that the two halves attract each other in the end and do not repel.
The magnets should be glued in well, in such a way that the glue covers them completely. That way they are protected from water in the dishwasher and do not start to rust.
Fitting
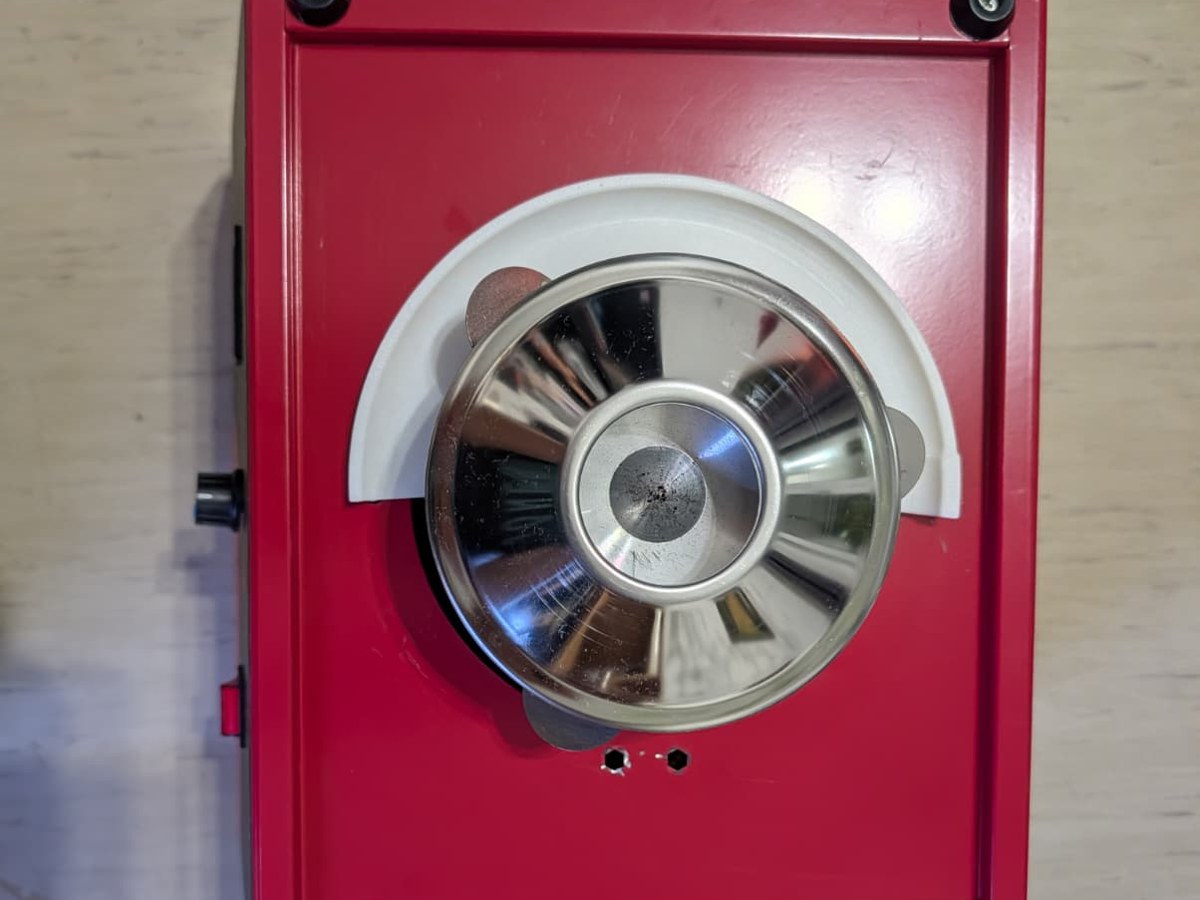
Then the two halves are placed one after the other around the spinner head on the housing. The magnets do not pull them into position by themselves, so you have to center the ring around the spinner head by hand.
Build Your Own
I printed the halves from ASA with the normal default settings of my slicer and without any supports. For a complete ring, simply print the half twice:
- Ring half as STL
- Complete Fusion 360 project, in case you want to adapt the ring to a different machine
The ring fits my VEVOR machine with 1000 W. Other cotton candy machines are often built very similarly, but before printing you should definitely measure whether the inner and outer diameters fit your device.
The guard ring is licensed under CC BY-NC-SA 4.0. This means you may build, modify and share it free of charge, as long as you credit me as the creator, do not use it commercially and share your own modifications under the same license.
If you have questions or need other file formats, feel free to write to me: loading …
Conclusion
The guard ring has now been in use for two years and works well. After an event I simply lift it off and wash it together with everything else. This way, cleaning the whole machine only takes me about 10 minutes, and I can always do it right on site.
It is also convenient when lending the machine out: because it is so easy to clean, it always comes back clean.