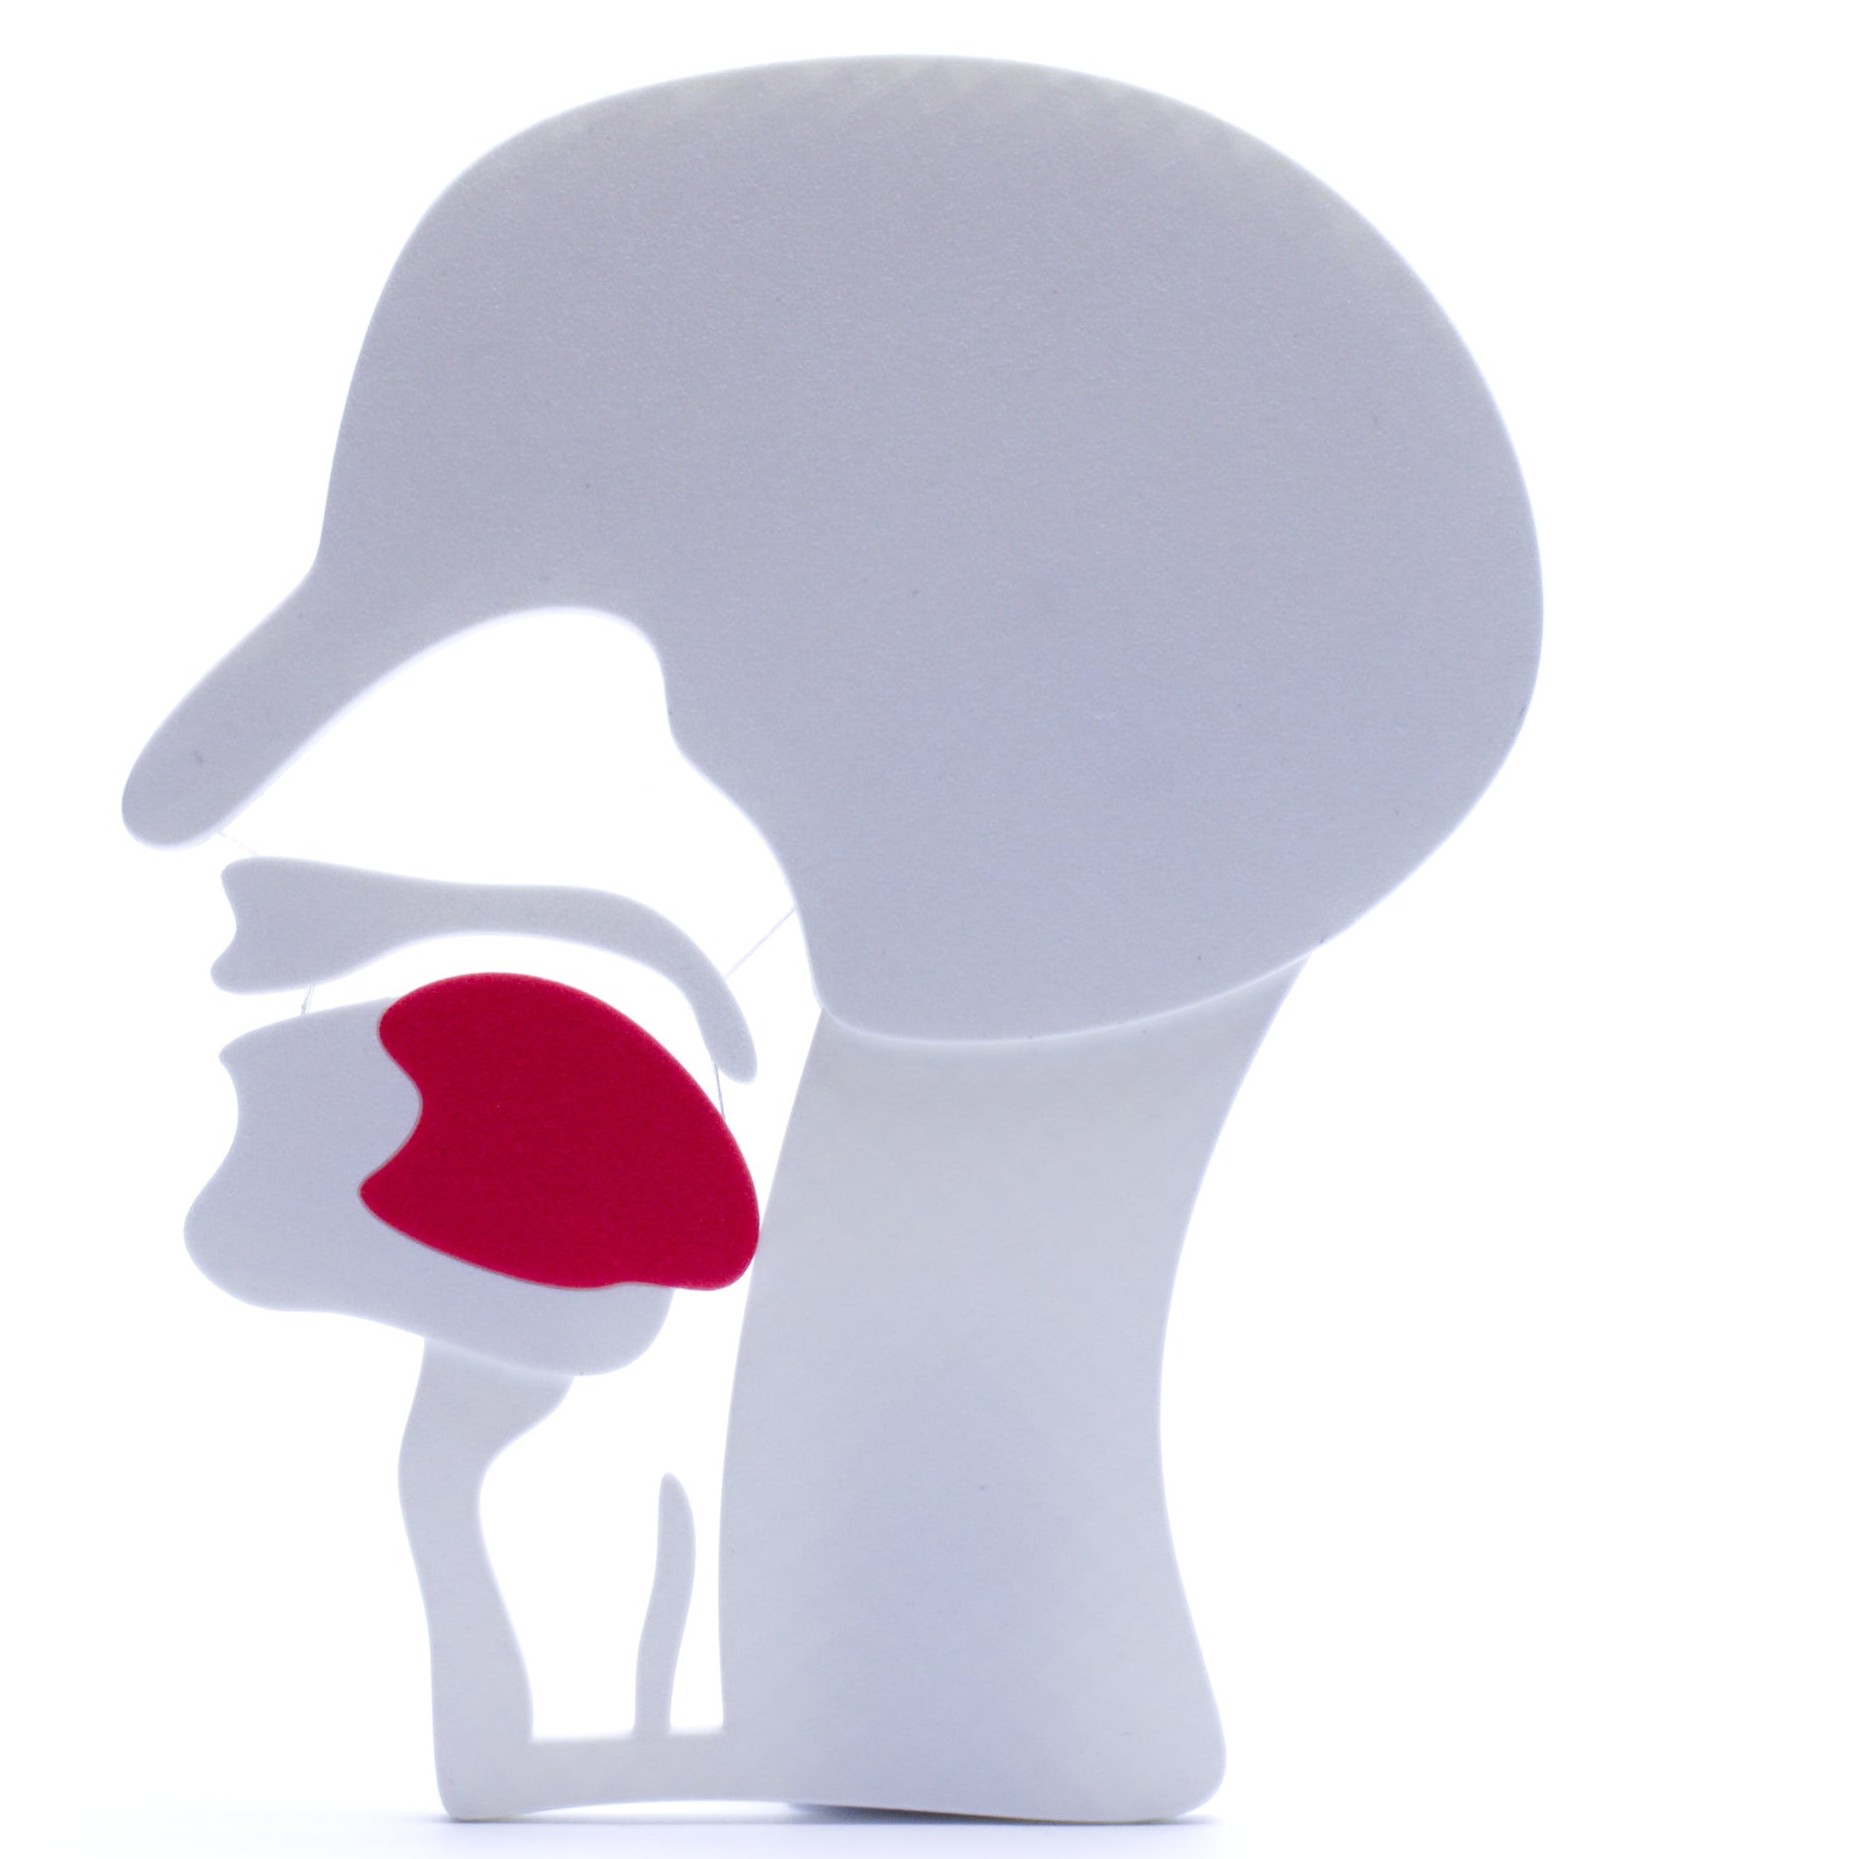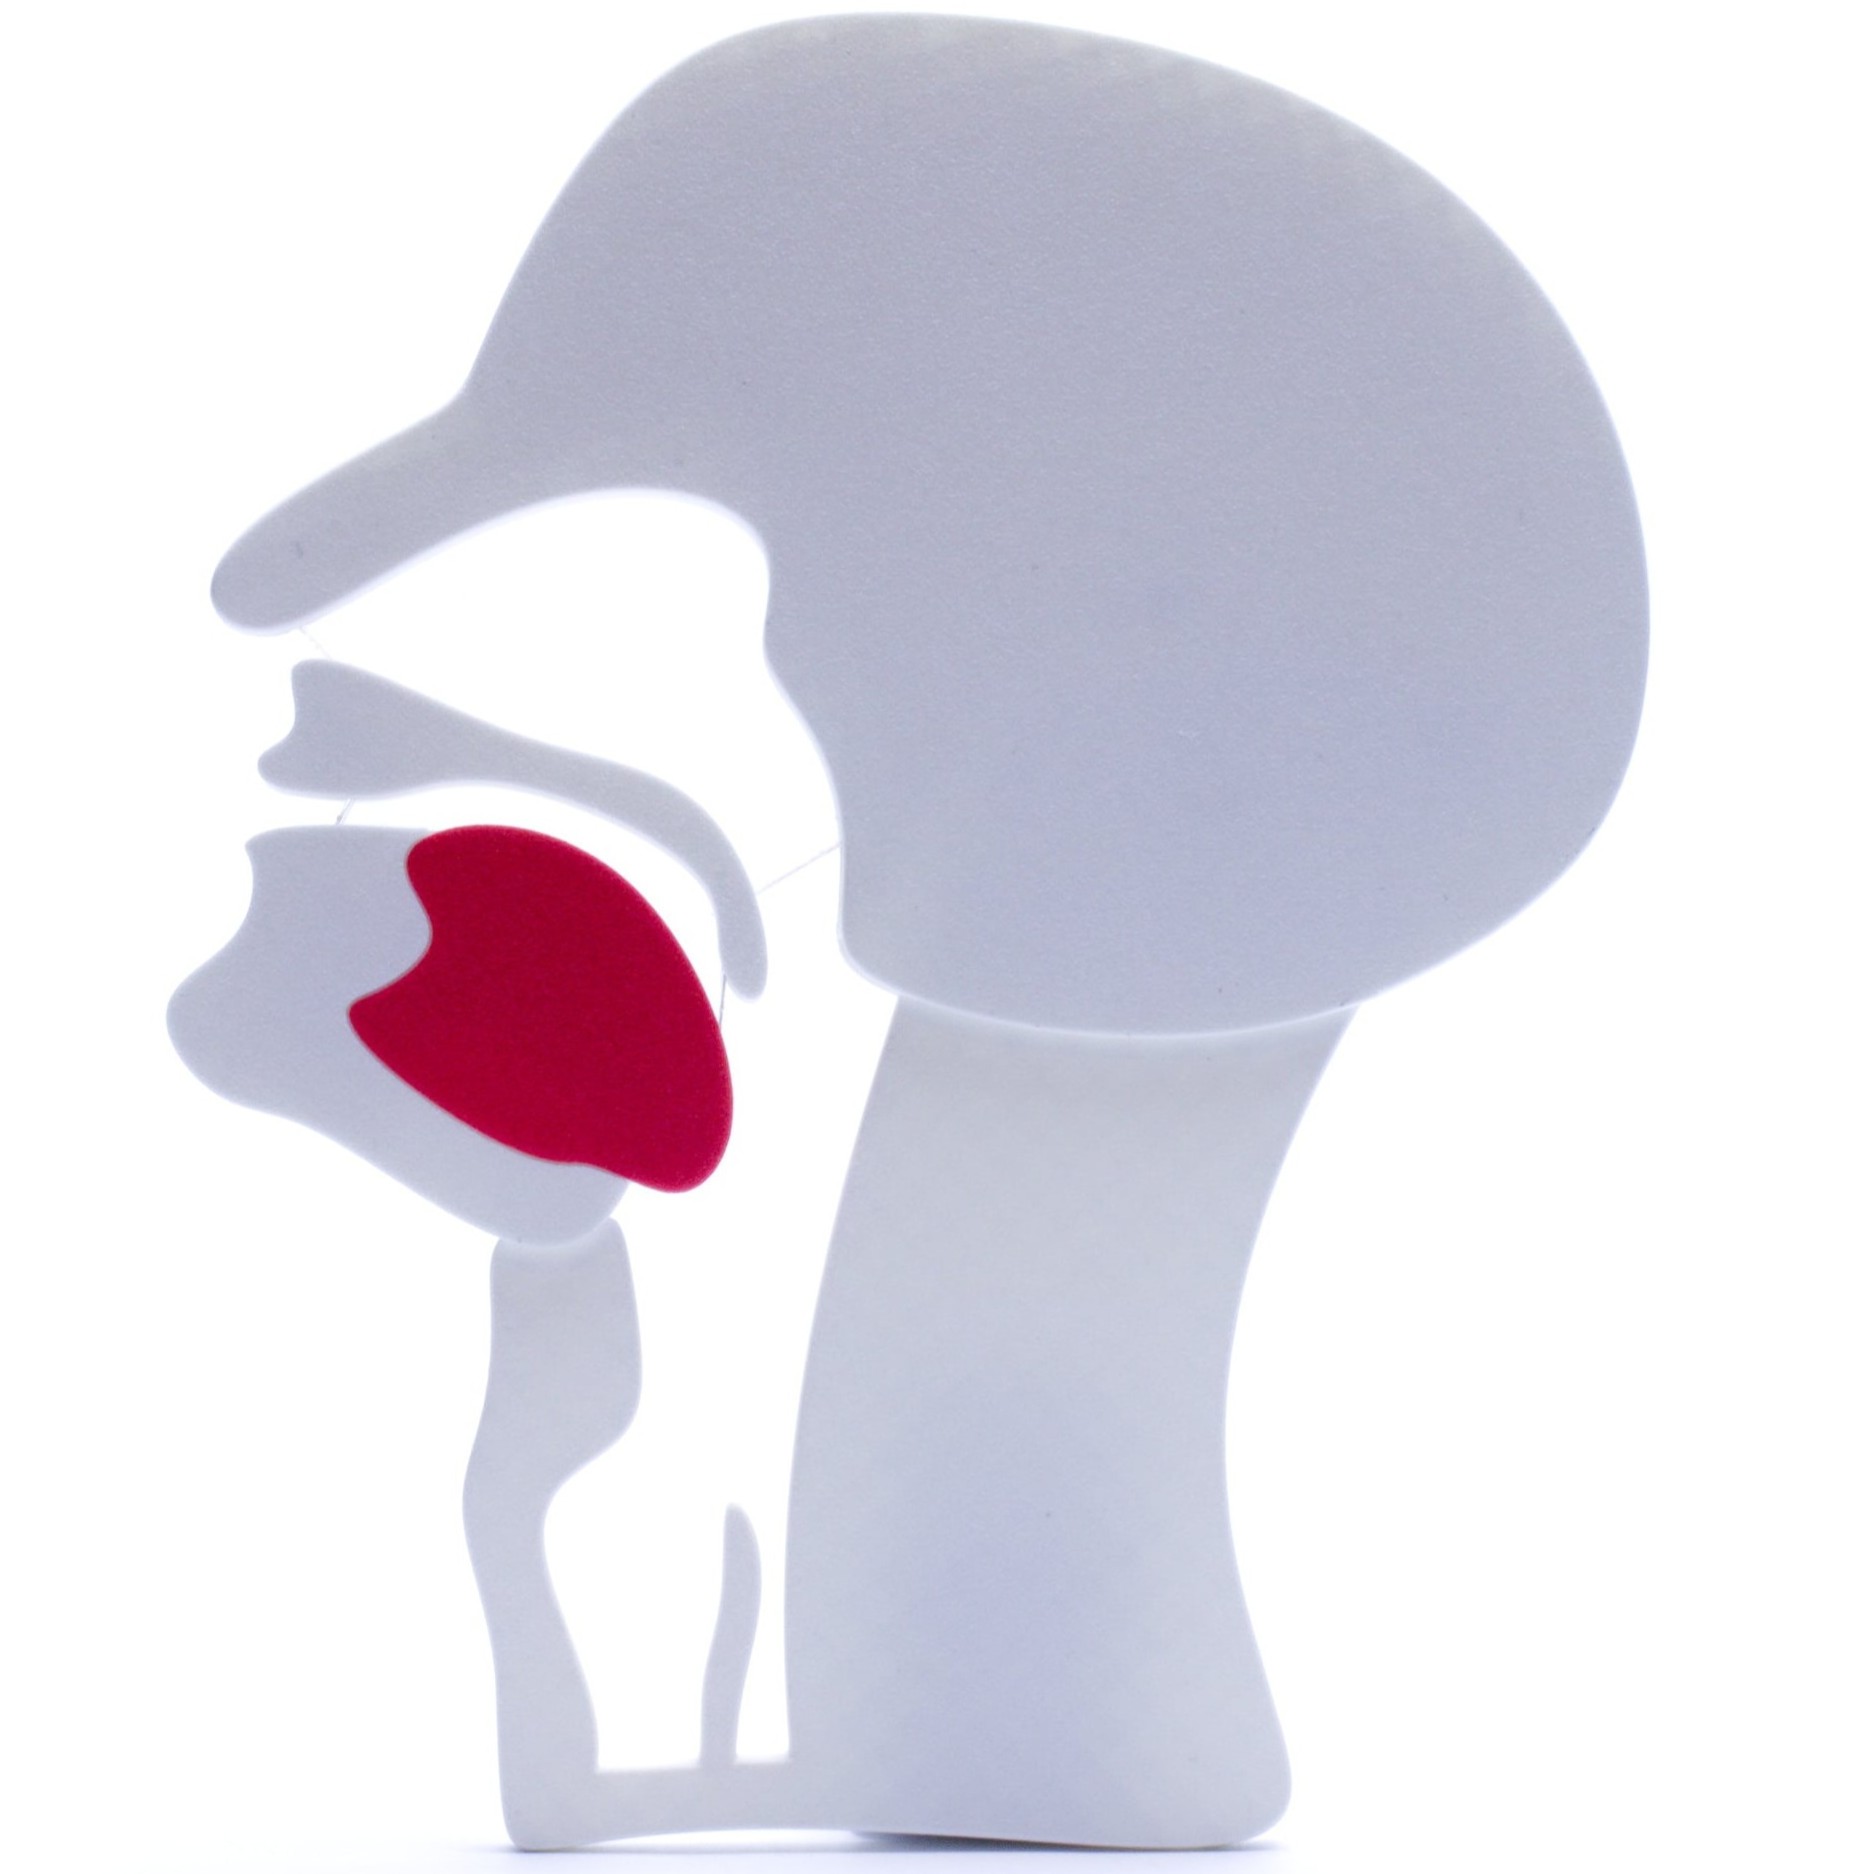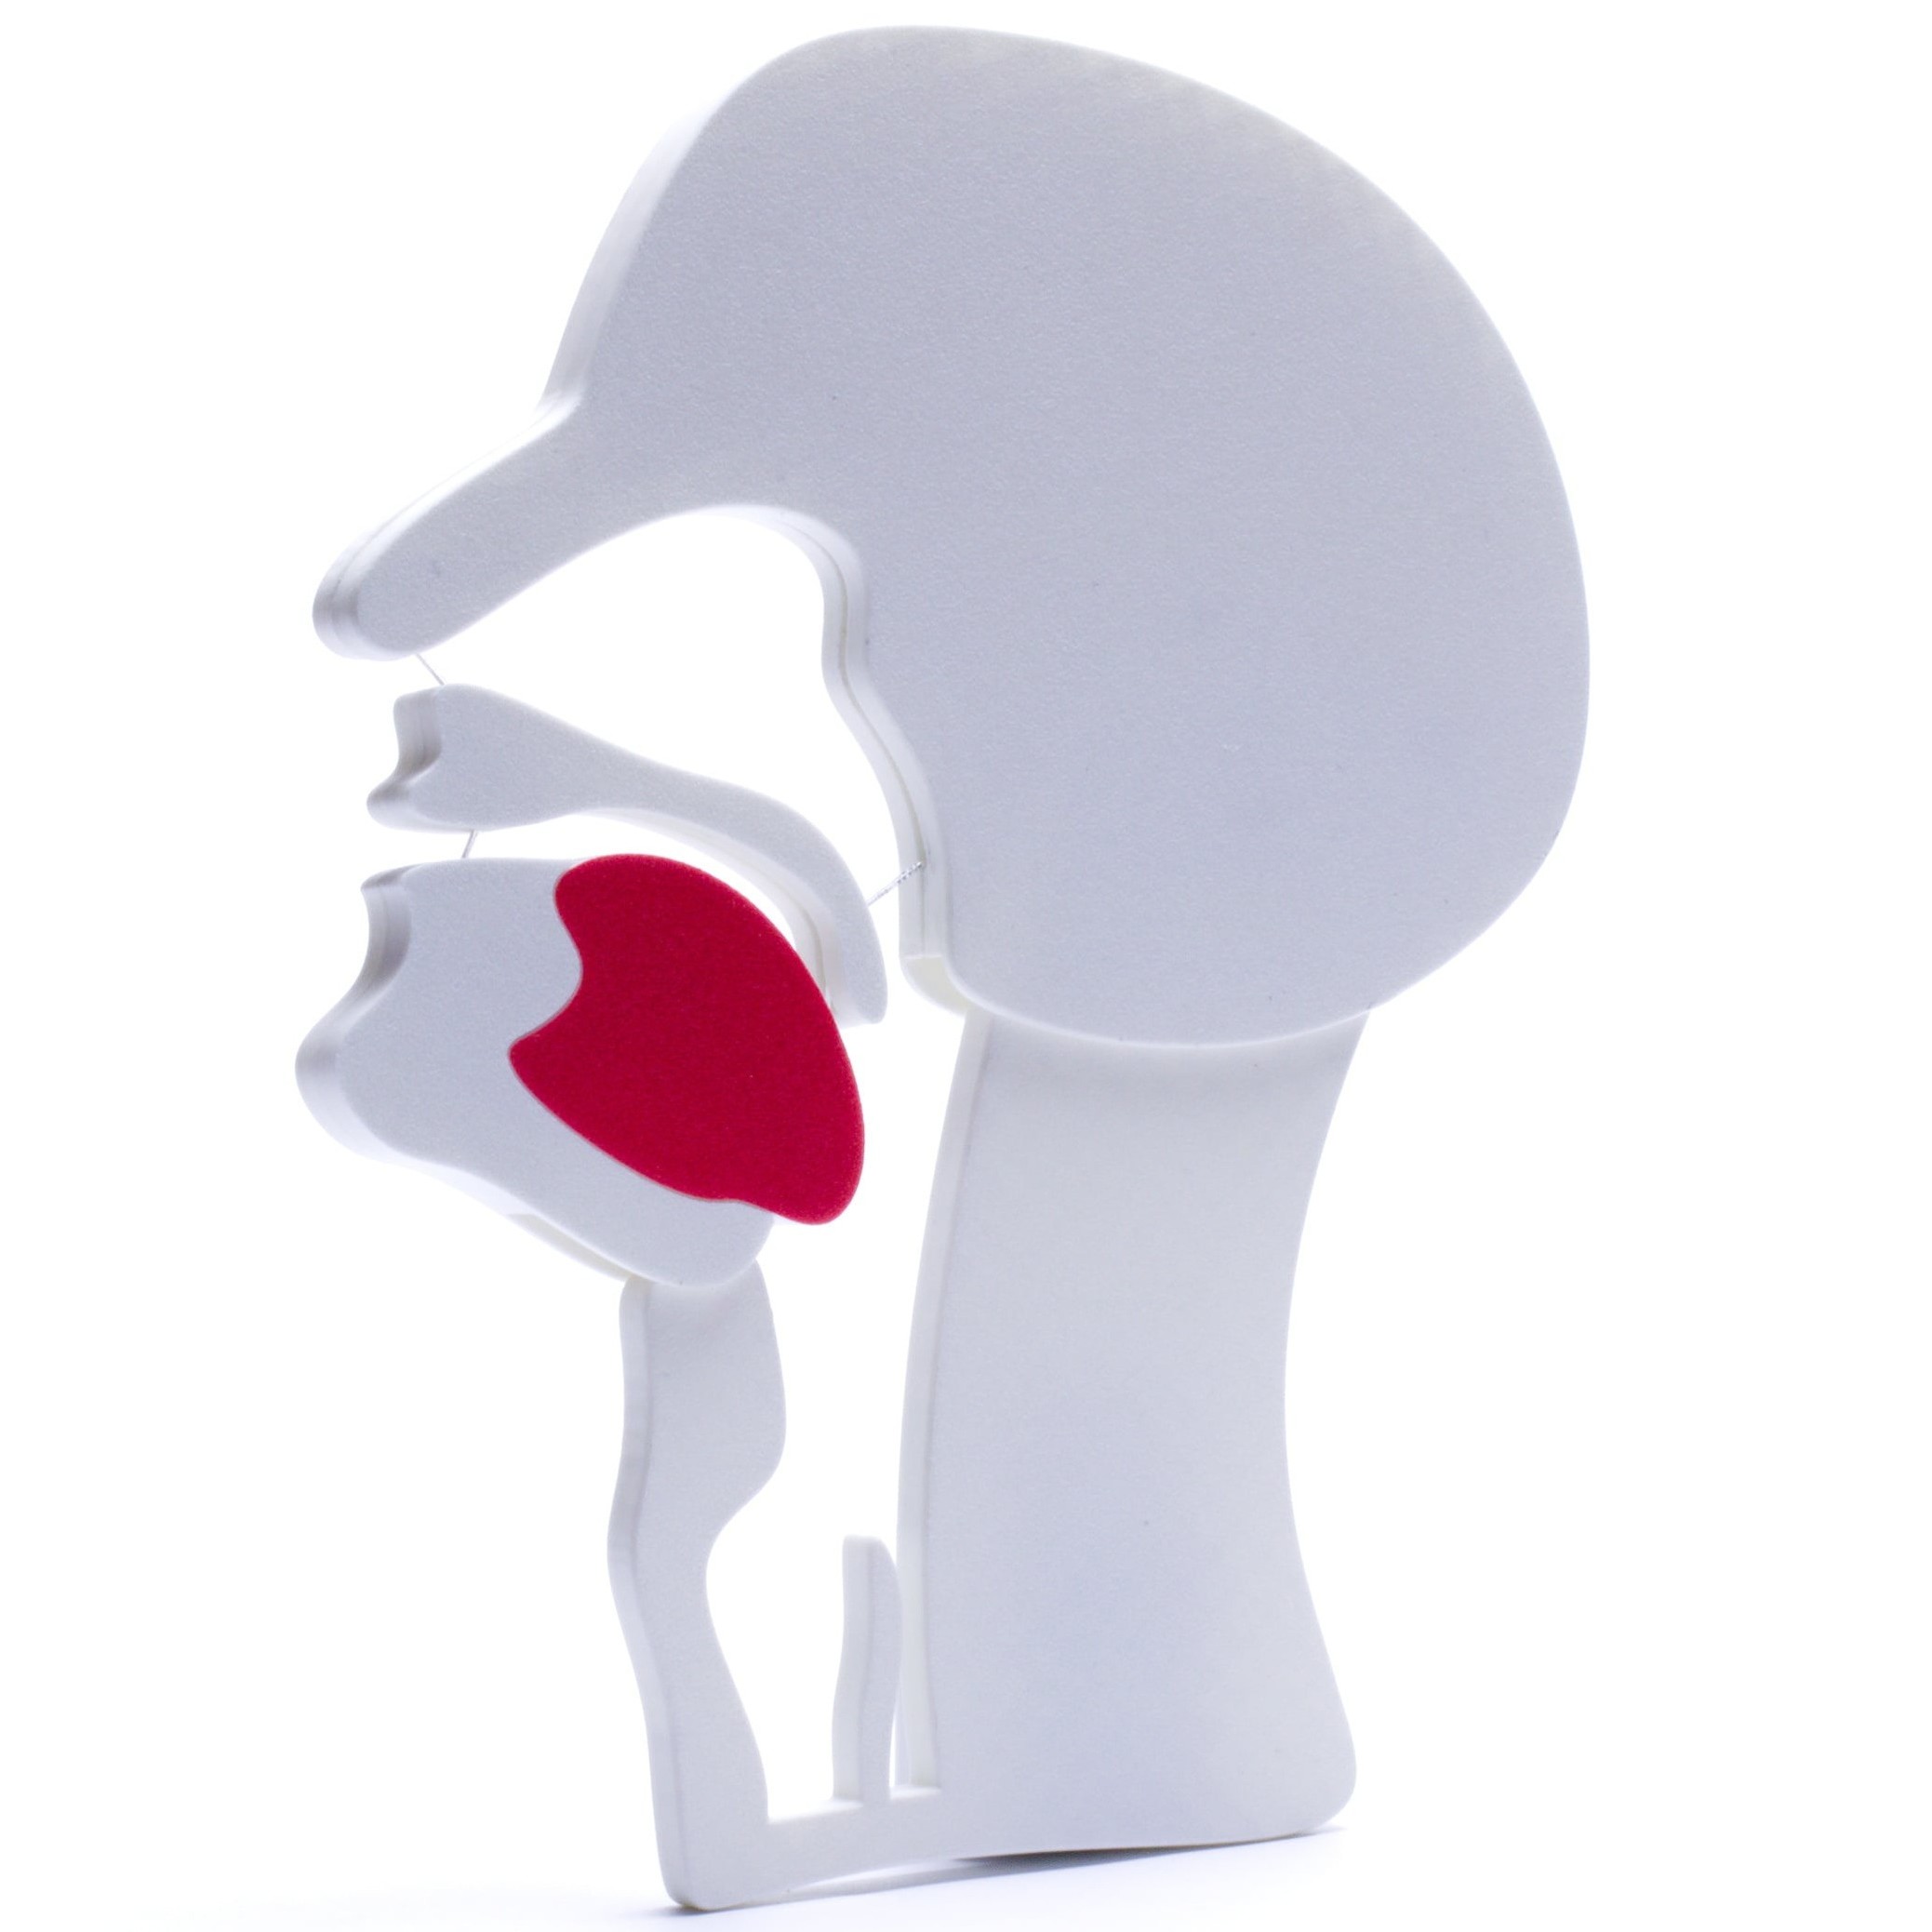
Since my second semester I have been active in the AG EH MED e. V., where I teach first aid courses. From the very beginning I was convinced by the quality of the courses. Once I had taught my first own lessons, though, I also noticed the downsides: we are a volunteer association and offer our courses for about half the price of other providers like the Bavarian Red Cross or the Malteser, but as a result we also have considerably less money available overall.
A central point in first aid is that in unconscious adults the head should always be tilted back towards the neck. This keeps the airway open. There are models to demonstrate this to course participants, but unfortunately they are not cheap, especially when your group actually needs five of them. That is how the idea came up to design one ourselves.
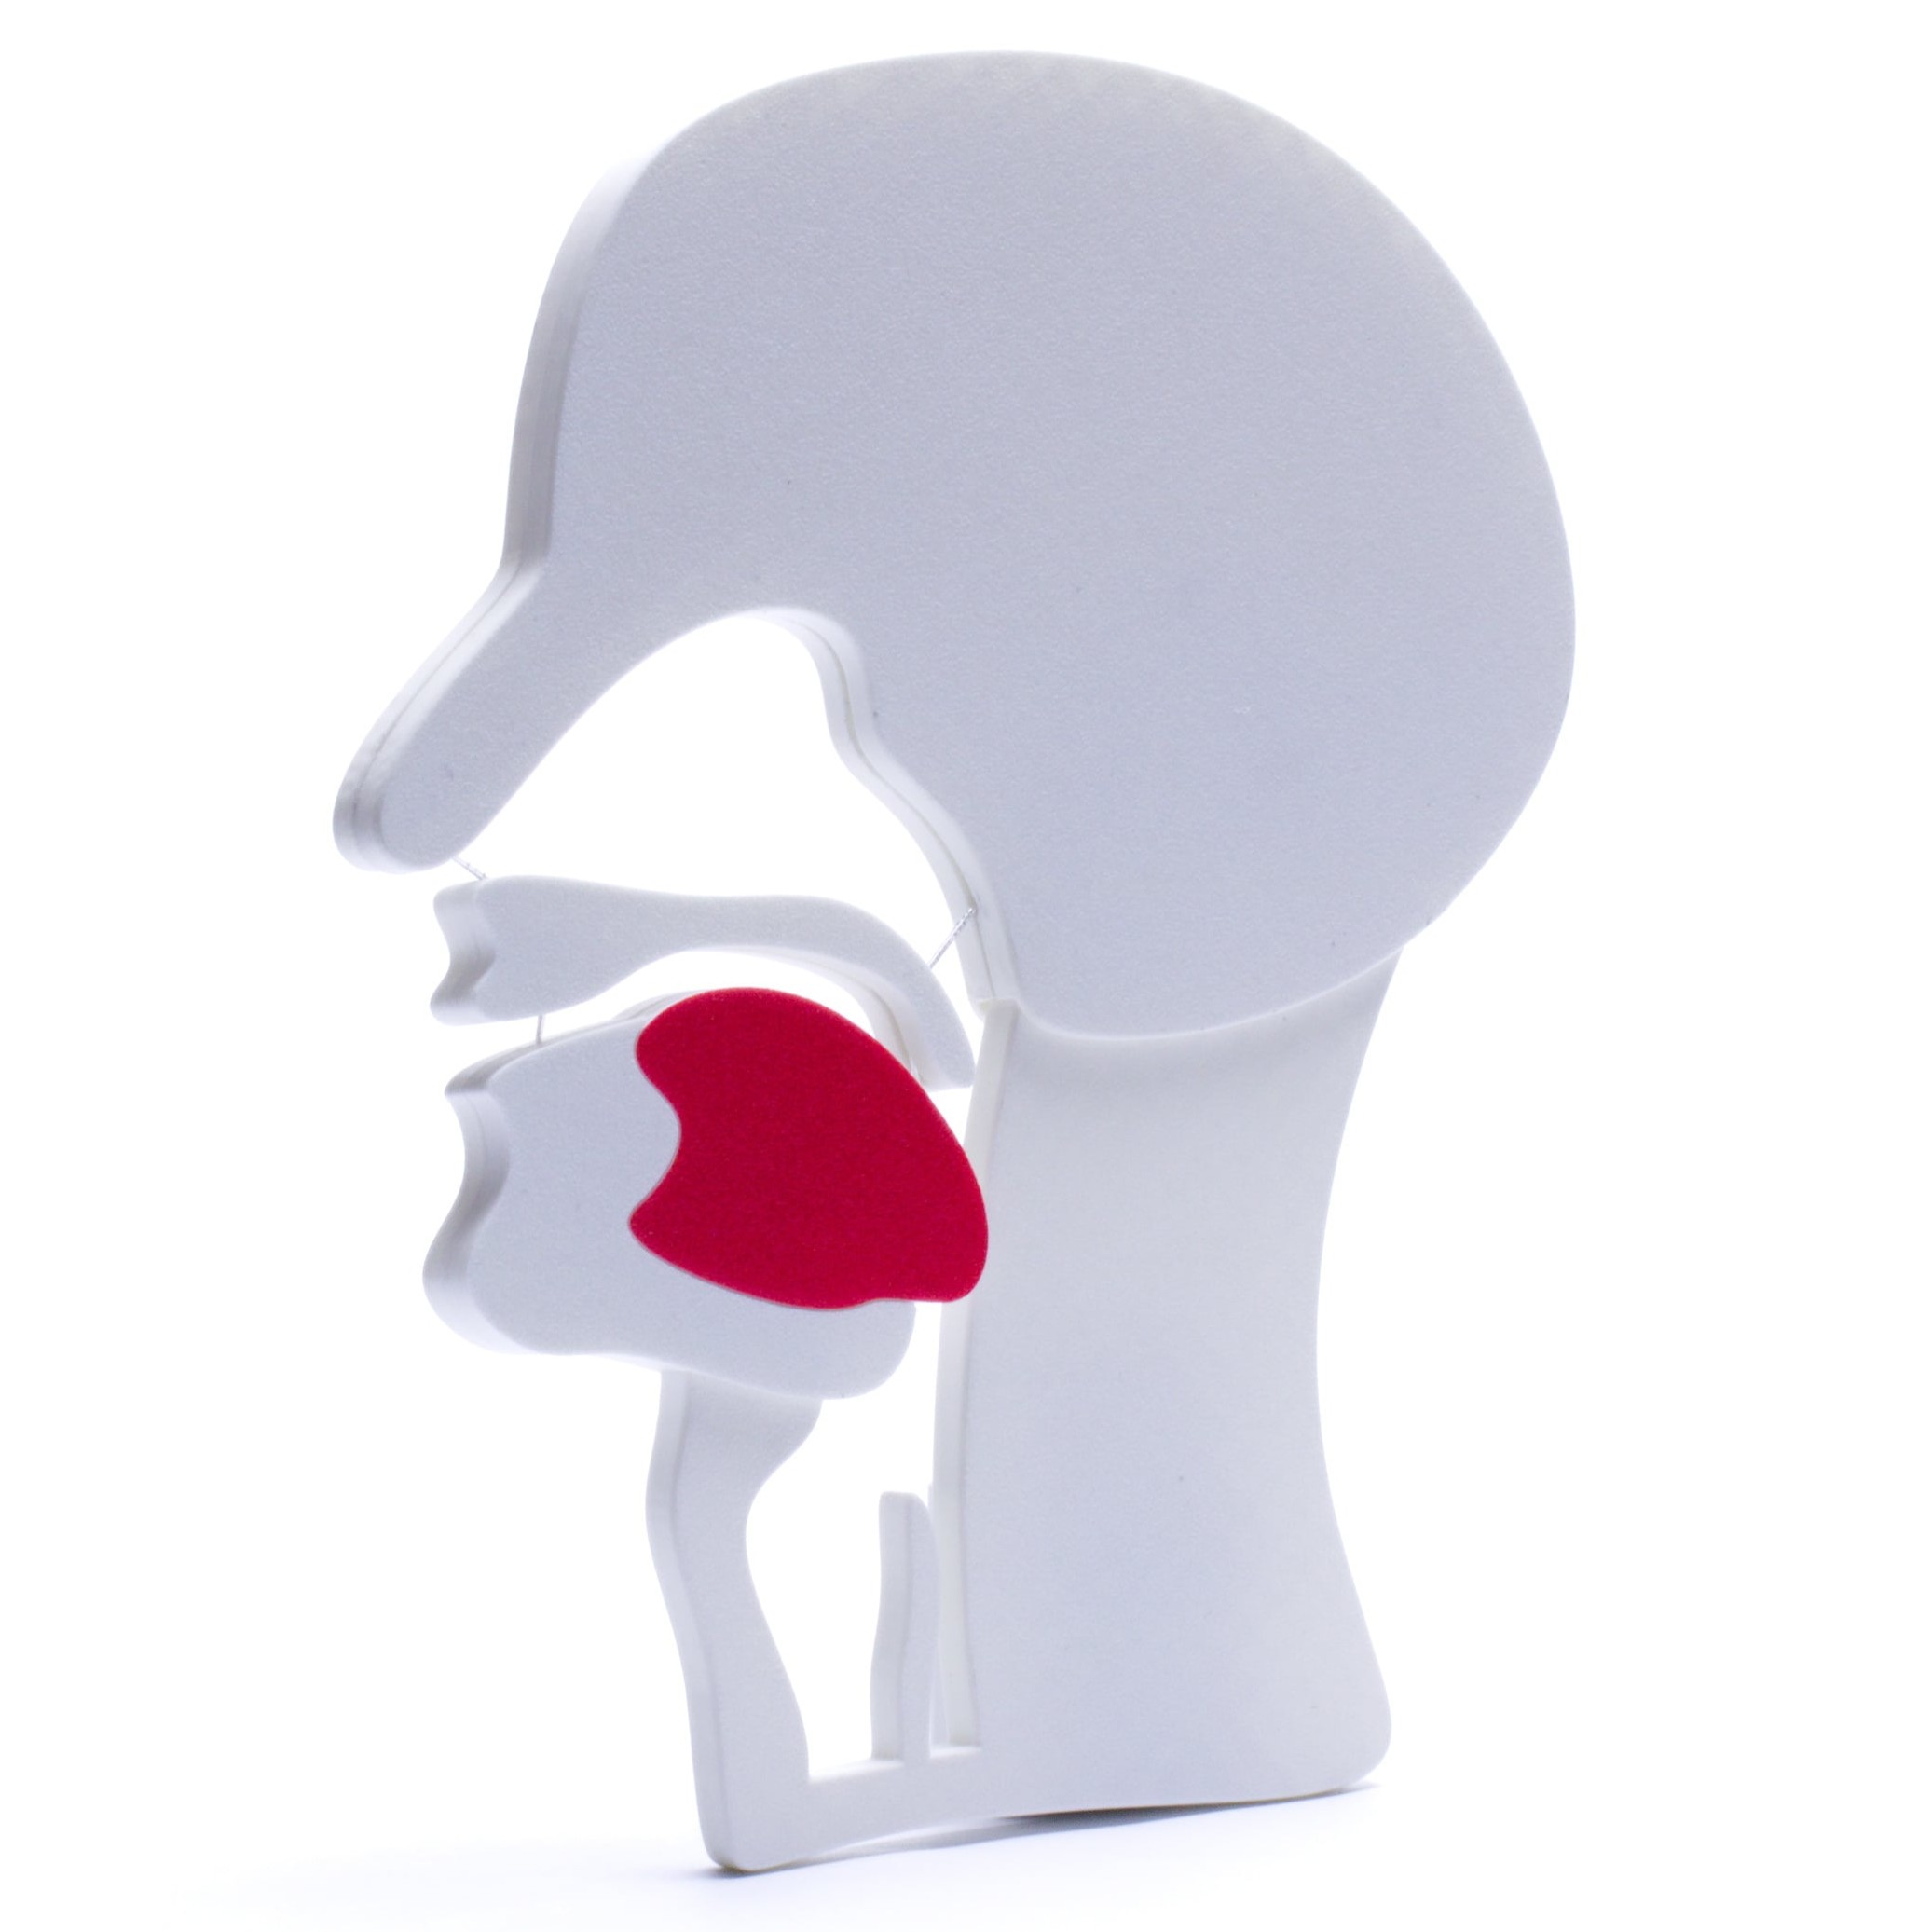
Our Model
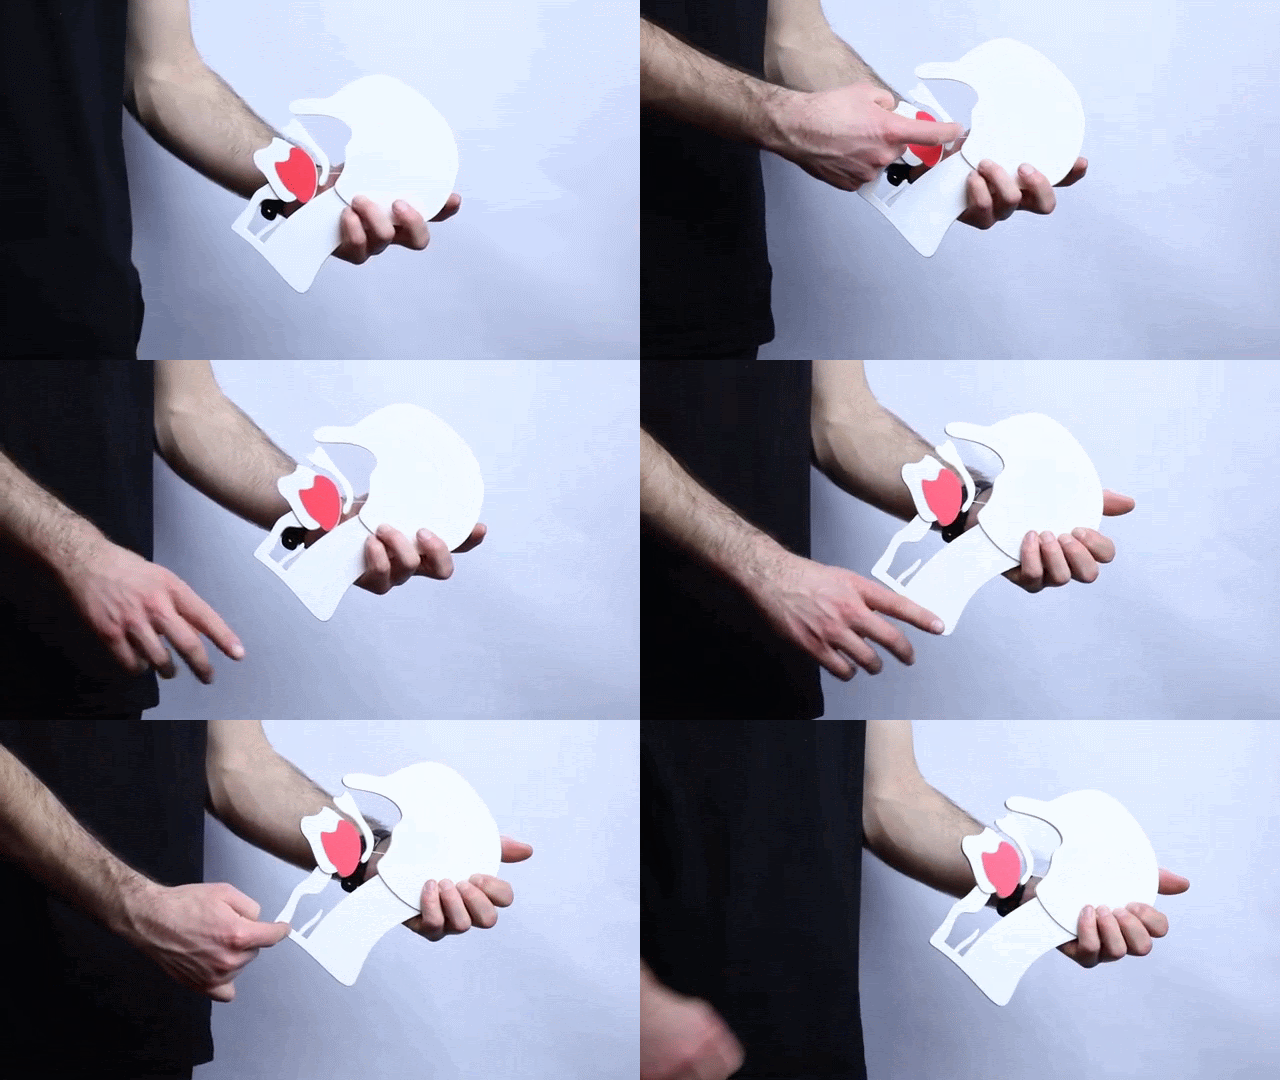
A big thank you goes to Nicklas, with whom I designed the model over several iterations and then optimized it for good printability. The model consists of the following parts:
- 2x head
- 2x lip and palate
- 2x chin and tongue
- 1x neck
- 1x connector piece
We designed the model so that it can be printed in two colors relatively easily with only a few filament changes. So if necessary, it can also be printed on a normal printer without a filament changer. The connector piece can be 3D printed as well, but we decided to make it from 2 mm thick acrylic glass, because the transparent look makes the model even more illustrative. Many thanks at this point to the MGF Lab in Kulmbach for the laser cutting.
This is what the movement of the finished model looks like:
Assembly
First, place one half of the head on a flat surface and hook in the neck. Then apply glue all around, about 1 cm from the edge; superglue worked well for us. After that, insert the connector piece, place the second half of the head on top and press firmly for about a minute. Next, coat both lip and palate parts with glue (not too much, otherwise it runs onto the acrylic and looks ugly) and attach them on both sides of the connector piece, again pressing for a minute. Finally, glue both chin and tongue parts to the connector piece in the same way. Important: no glue may get onto the neck piece itself, otherwise the hinge will jam later.
Build Your Own
You are welcome to build the model yourself. If you have questions or problems, just get in touch: loading …
All individual parts as STL, the connector piece additionally as SVG and DXF for laser cutting:
- Head: part 1, part 2
- Lip and palate: part 1, part 2
- Chin and tongue: part 1, part 2
- Neck
- Connector piece as STL, SVG or DXF

All parts together as a finished project are also available as a 3MF file as well as on Thingiverse and Printables.
The model is licensed under CC BY-NC-SA 4.0. This means you may build, modify and share it free of charge, as long as you credit us, Josias and Nicklas, as the creators, do not use it commercially and share your own modifications under the same license.
Conclusion
This was a cool little project that combined a bit of medicine and technology. Over the last two years the model itself has already proven its worth in many courses.